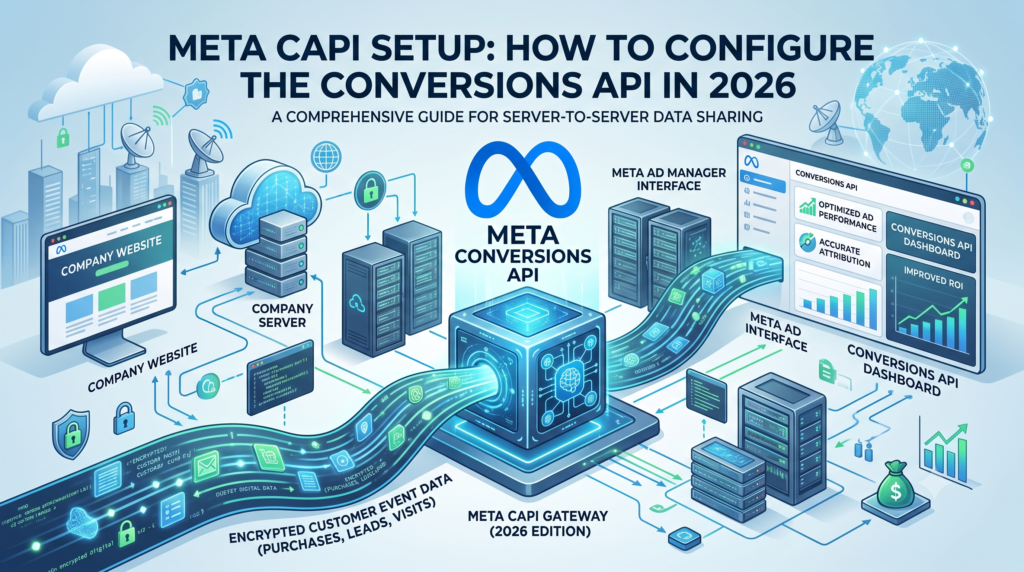
In the modern digital landscape, the phrase “third-party cookie deprecation” is no longer a looming threat—it is the reality of the 2026 marketing ecosystem. With privacy regulations tightening and browser-level tracking prevention (like ITP and ETP) becoming more sophisticated, relying solely on the Meta Pixel is a recipe for data loss and inflated Customer Acquisition Costs (CAC).
To maintain attribution accuracy, robust retargeting, and optimized ad delivery, your infrastructure must pivot to a server-side tracking solution. This is where Meta CAPI setup comes into play. Explore our Advanced Analytics Services →
In this guide, we will walk through exactly why server-side tracking is non-negotiable in 2026 and provide a step-by-step roadmap to configuring the Facebook Conversions API for your business.
Why Meta CAPI is No Longer Optional
The Meta Pixel (browser-side) is fundamentally limited. It relies on the user’s browser environment to fire events. If a user utilizes an ad-blocker, has strict privacy settings, or experiences a poor connection, the data simply never reaches Meta’s servers.
The Meta Conversions API (CAPI) changes the game by:
- Bypassing browser restrictions: Data is sent directly from your server to Meta’s server.
- Enhancing Event Match Quality: CAPI allows for passing higher-fidelity data (like hashed PII, such as emails and phone numbers), which leads to higher match rates.
- Improving ROAS: With more accurate data, the Meta delivery algorithm can better identify users likely to convert, directly impacting your campaign profitability.
Data point: According to recent industry benchmarks, businesses using CAPI alongside the Pixel see an average 15–20% increase in attributed conversions compared to using the Pixel alone.
Ready to audit your current tracking setup?
Contact our experts at Octazing for a comprehensive data infrastructure audit.
Preparing for Your Meta CAPI Setup
Before diving into the technical configuration, you must ensure your environment is ready. A botched setup leads to “event duplication,” which can skew your metrics and ruin your ad performance. Read more about The Future of Digital Marketing in 2026
1. Choose Your Implementation Method
There are three primary ways to implement CAPI:
- Direct Integration (Partner Integrations): Using platforms like Shopify, WooCommerce, or BigCommerce. This is the easiest route.
- Cloud Gateway (Conversion API Gateway): An Amazon Web Services (AWS) hosted solution managed by Meta.
- Custom Server-Side Setup (Google Tag Manager Server-Side): The most flexible option, allowing you to pass data to multiple platforms (Google Ads, Meta, TikTok) from a single server-side endpoint.
2. Gather Your Credentials
You will need:
- Meta Business Manager Access: Admin permissions for your Business Account.
- Pixel ID: Your existing tracking ID.
- API Access Token: Generated within the Meta Events Manager.
Step-by-Step Configuration: The 2026 Best Practice
While many businesses use partner integrations, the most scalable approach for enterprise brands is utilizing Google Tag Manager (GTM) Server-Side.
Phase 1: Setting Up the Server Container in GTM
- Navigate to your Google Tag Manager account.
- Create a new container and select “Server” as the platform.
- Provision your server (Google Cloud Platform is the standard, though Stape.io is a popular low-code alternative).
- Configure your server URL (e.g.,
metrics.yourdomain.com).
Phase 2: Generating the Access Token
- Go to Meta Events Manager.
- Select your Pixel and navigate to the Settings tab.
- Scroll down to the “Conversions API” section.
- Click “Generate Access Token.” Save this securely—you will need it for your GTM configuration.
Phase 3: Configuring the Facebook Conversions API Tag
In your GTM Server container:
- Add the Facebook Conversions API tag template (maintained by the community).
- Input your Pixel ID and Access Token.
- Define the trigger: This should fire based on the data layer events sent from your web container to your server container.
- Crucial Step: Deduplication. You must pass an
event_idfrom the browser-side event to the server-side event. If theevent_idmatches, Meta knows to treat them as the same event, preventing double-counting.
Struggling with implementation?
Let the Octazing engineering team handle your full-stack tracking integration.
Avoiding Common Pitfalls: Event Match Quality
A successful Meta CAPI setup is only as good as the data you pass. Simply sending a “purchase” event isn’t enough. You need to leverage Advanced Matching. Ensure you are collecting and hashing the following data points (PII) before sending them to the server: Email Address (SHA-256), Phone Number, First and Last Name, and City/State/Zip. [Internal Link: Learn more about our Data Security Compliance guide here]
Monitoring and Debugging Your Setup
Once live, use the Test Events tool in Events Manager. If you see “Processed” under the server column, your CAPI setup is functioning. Monitor your “Event Match Quality” score regularly to ensure you are passing enough user-identifying data for effective attribution.
Conclusion: The Future is Server-Side
As we move deeper into 2026, the gap between businesses that have mastered server-side tracking and those that haven’t will continue to widen. Meta CAPI is not just a technical requirement—it is a competitive advantage.
Need help navigating the complexities of Meta CAPI? At Octazing, we specialize in advanced tracking, platform integrations, and data-driven growth. Reach out today for a consultation.